Inspiration: https://github.com/technoblogy/tiny-i2c [ Almost copy_paste :) ]
Credits: Dr. Azzy and technoblogy
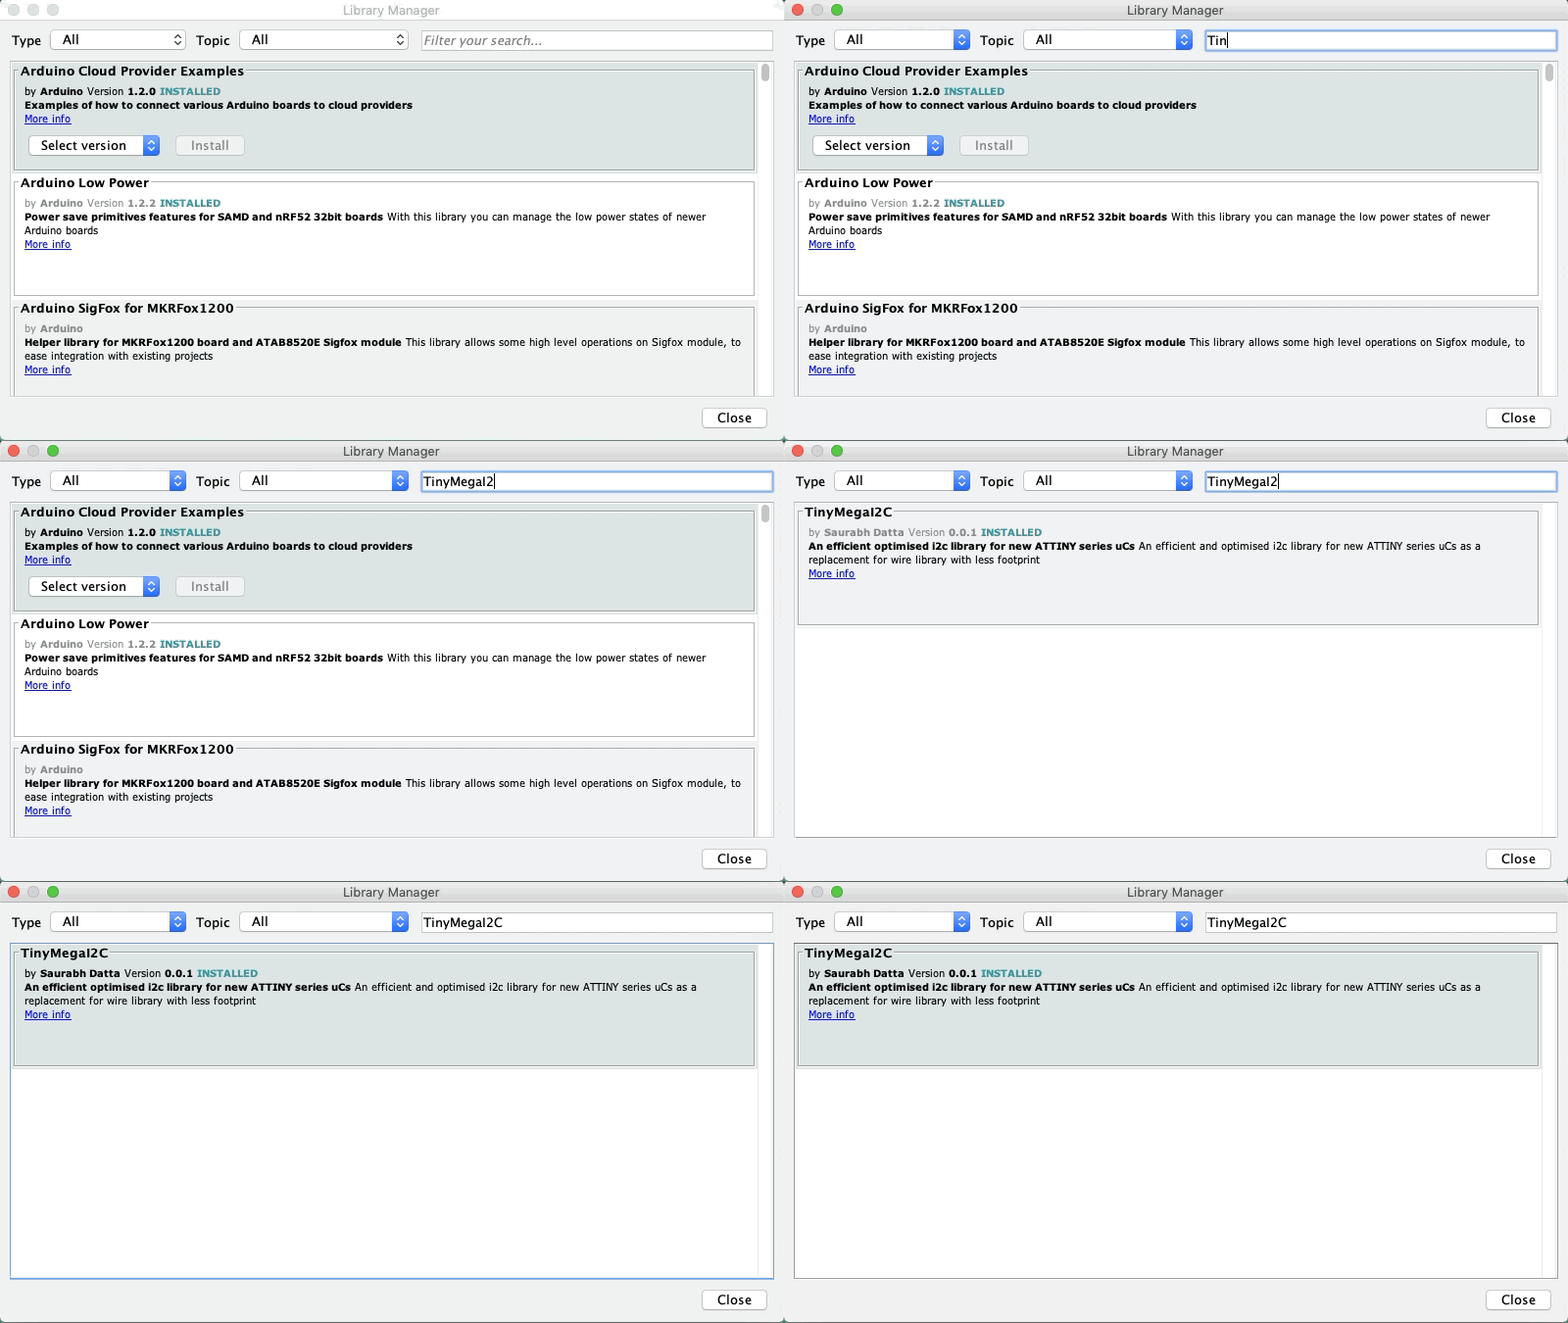
For easy installtion through either Library Manager of the Arduino IDE or arduino-cli, needed for my RV8803-Tiny Arduino Library that I wanted to make available in Arduino's Library Repository and so that the Linter there doesn't complain about the dependendant library.
TinyMegaI2C is a set of minimal I2C routines for the new 0-series and 1-series ATtiny and ATmega microcontrollers. They allow any of these processors to act as an I2C Master and connect to I2C peripherals. For more information see
The main difference between these routines and the standard Arduino Tiny Wire library is that these don't use buffers, so have minimal memory requirements, and don't impose a limit on transmissions.
Note: These routines are designed for the latest ATtiny 0-series and 1-series processors, and the 0-series ATmega chips.
Naming of these routines as TinyMegaI2C was done to distinguish them from the existing Arduino Wire libraries, such as the one included in Spence Konde's megaTinyCore. These routines don't follow the Arduino Wire library naming conventions.
In addition, these routines differ from the Tiny Wire library routines in the following ways:
These routines don't use buffers, reducing their RAM requirements to a couple of bytes. The standard 0-series ATmega Wire library uses 128-byte send and receive buffers, and the 0-series and 1-series ATtiny Wire libraries use 32-byte or 16-byte buffers, which on the smaller chips is a significant part of the available RAM. As far as I can see there's no need for buffering as the I2C protocol incorporates handshaking, using the ACK/NACK pulses.
These routines don't impose any limit on the length of transmissions. The standard Wire libraries limit the length of any transmission to the size of the buffer. This isn't a problem with many I2C applications, such as reading the temperature from a sensor, but it is a problem with applications such as driving an I2C OLED display, which requires you to send 1024 bytes to update the whole display.
These routines allow you to specify in advance how many bytes you want to read from an I2C peripheral, or you can leave this open-ended and mark the last byte read. This is an advantage when you don't know in advance how many bytes you are going to want to read.
For simplicity these routines use polling rather than interrupts, so they won't interfere with other processes using interrupts.
The beauty of the latest ATtiny 0-series, ATtiny 1-series, and ATmega 0-series ranges from Microchip is that they use the same peripherals, so these routines should work on any microcontroller in the range.
Here's a description of the TinyMegaI2C routines:
Starts a transaction with the slave device with the specified address, and specifies if the transaction is going to be a read or a write. It returns a true/false value to say whether the start was successful.
The type parameter can have the following values:
- 0: Write to the device.
- 1 to 32767: Read from the device. The number specifies how many reads you are going to do.
- -1: Read an unspecified number of bytes from the device.
If type is specified as -1 you must identify the last read by calling TinyMegaI2C.readLast() rather than TinyMegaI2C.read().
Writes a byte of data to a slave device. It returns true if the write was successful or false if there was an error.
Returns the result of reading from a slave device.
Returns the result of reading from a slave device and tells the slave to stop sending. You only need to use TinyMegaI2C.readlast() if you called TinyMegaI2C.start() or TinyMegaI2C.restart() with type set to -1.
Does a restart. The type parameter is the same as for TinyMegaI2C.start().
Ends the transaction.
To use the routines install the TinyMegaI2C library and include this at the top of your program:
#include <TinyMegaI2C.h>
These routines let you write a simple port scanner to print out the addresses of any I2C devices found on the bus:
void setup() {
  TinyMegaI2C.init();

  Serial.begin(115200);
  while (!Serial) {
  }

  Serial.println(F("\nI2C Scanner"));
  delay(1000);
}

void loop() {

  byte address;
  //  byte error, address;  //variable for error and I2C address
  int nDevices;

  Serial.println(F("Scanning..."));
  nDevices = 0;

  for (address = 1; address < 127; address++ ) {
    if  (TinyMegaI2C.start(address, 0)) {
      nDevices++;
      Serial.print("I2C device found at address 0x");
      Serial.print(address, HEX);
      Serial.println("  !");
    }
  }
  if (nDevices == 0)
    Serial.println(F("No I2C devices found\n"));
  else
    Serial.println(F("done\n"));
  delay(5000);
}
It uses the fact that TinyMegaI2C.start() returns false if no device was found with the corresponding address. For example, with the I2C clock example it prints out:
Scanning...
I2C device found at address 0x32  !
done
Writing to a slave is straightforward: for example, to write one byte:
TinyMegaI2C.start(Address, 0);
TinyMegaI2C.write(byte);
TinyMegaI2C.stop();
The TinyMegaI2C routines allow you to identify the last byte read from a slave in either of two ways:
You can specify the total number of bytes you are going to read, as the second parameter of TinyMegaI2C.start(). With this approach TinyMegaI2C.read() will automatically terminate the last call with a NAK:
TinyMegaI2C.start(Address, 2);
int mins = TinyMegaI2C.read();
int hrs = TinyMegaI2C.read();
TinyMegaI2C.stop();
Alternatively you can just specify the second parameter of TinyMegaI2C.start() as -1, and explicitly identify the last TinyMegaI2C.read command by calling TinyMegaI2C.readLast():
TinyMegaI2C.start(Address, -1);
int mins = TinyMegaI2C.read();
int hrs = TinyMegaI2C.readLast();
TinyMegaI2C.stop();
Many I2C devices require you to write one or more bytes before reading, to specify the register you want to read from; the read should be introduced with an TinyMegaI2C.restart() call; for example:
TinyMegaI2C.start(Address, 0);
TinyMegaI2C.write(1);
TinyMegaI2C.restart(Address, 2);
int mins = TinyMegaI2C.read();
int hrs = TinyMegaI2C.read();
TinyMegaI2C.stop();
MIT LICENSE.md
