-
Notifications
You must be signed in to change notification settings - Fork 0
Using WISEBED Experiments as Packet Source
Using a WISEBED testbed as packet source is pretty simple and straightforward. Currently, all you need in advance is some WISEBED client to make a reservation and reprogram the nodes in the testbed as this functionality is node included in SpyGlass.
SpyGlass listens only to packets of which the first byte is 111 or 0x6F in hexadecimal. This stems from SpyGlass' origins in which SpyGlass was only used in the context of the iShell software and the iSense hardware from coalesenses. Their sensor node operating system iSense uses the first byte of a packet to determine the packet type (comparable to the concept of ports in TCP/UDP) and SpyGlass here has a reserved value of 111 (0x6F). Packets of a different packet type will be silently ignored.
The subsequent bytes of a packet must be formatted according to Packet Format and Packet Types.
As WISEBED client programs (such as SpyGlass is one) have to start a Web service endpoint on the client side this endpoint must be publicly accessible. So if your host uses a public hostname / IP address (i.e. it is not behind a NAT) and it is not firewalled everything should work fine. Another possibility is to use a dynamic DNS hoster and to make sure no firewall or NAT gets in the way, too.
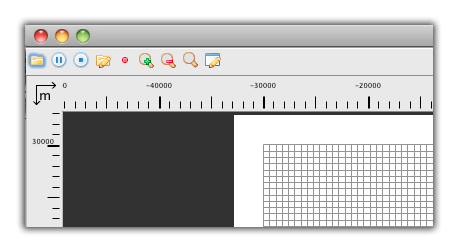
First, open the packet source dialog by clicking on the packet source button in the main window.

Then select "Testbed" as packet source.

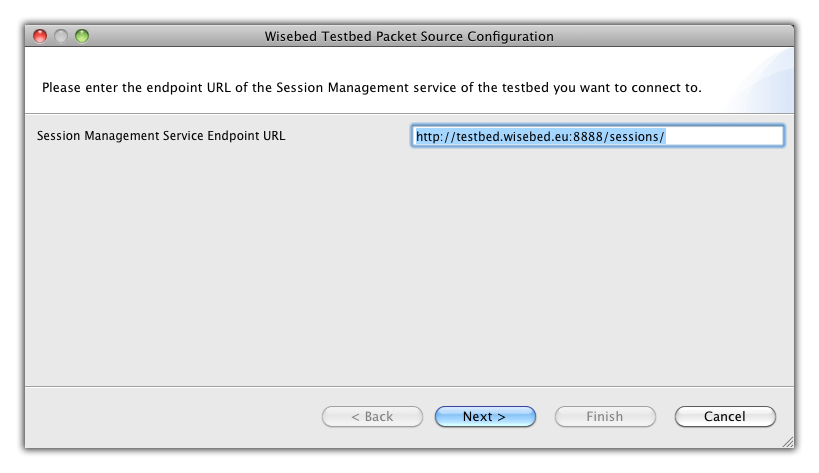
In the wizard window that now starts you'll have to provide the so called Session Management Service Endpoint URL under which the WISEBED testbed you want to connect to is accessible. You can get the endpoint URLs of the various WISEBED testbeds on the WISEBED homepage.

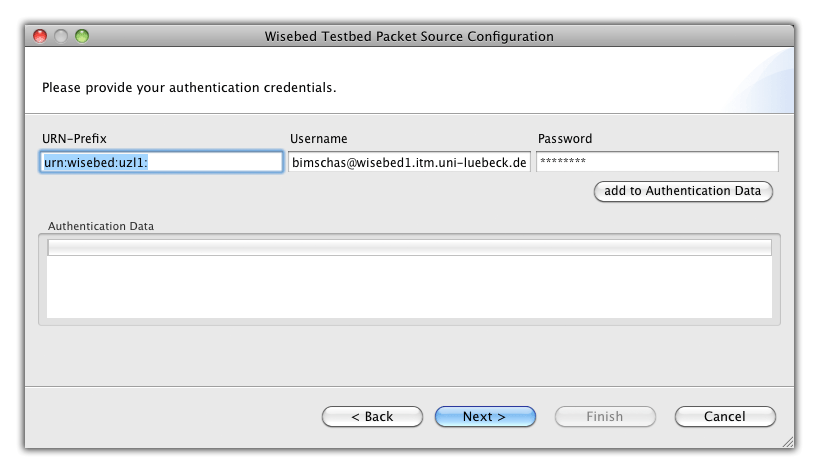
Then, in the second step of the wizard you'll have to provide your authentication credentials that you received when registering for the WISEBED testbeds. The value of the URN Prefix field can also be found on the WISEBED homepage.

After typing your credentials press the Add to Authentication Data button. This will validate your credentials with WISEBEDs authentication system. In case of successful authentication your data will show up in the table below:

In the next and last wizard page you'll have to select the reservation you want to connect to. Usually, only one reservation will be displayed if you only made one for the next 24 hours as only your reservations should displayed here.

Click on the "Finish" button and you're done!
Please activate an instance of the SimpleGlobalInformation plugin. It will print the number of SpyGlass packets, both in total as in packets per second. If the numbers are not zero then it seems your drawing plugins are not configured correctly.
If the numbers of the SimpleGlobalInformation plugin are zero there are several possible root causes to that problem:
Your sensor nodes don't write proper SpyGlass packets to their UART. As this is a very frequent issue please validate the correctness with some other tool before filing issues :-).
The first byte of the packet written is not 111 (0x6F). Please see the prerequisites section above.
The packets being written to the UART have a different framing to the one configured in the backend. E.g., iSense OS delimits individual packets with DLE STX ... DLE ETX (where ... is the actual packet), others prepend a length field and others delimit by simply ending a packet with a newline character. The WISEBED backend is configured to some default deframing which may be different to the framing used by the operating system you reprogrammed the nodes with. Please see the WISEBED documentation for the setChannelPipeline() function on how to configure the (de-)framing done in the backend.
If all of the above does not help or none of them is the root cause of the problem it may help to activate DEBUG logging. You can do this by writing a Log4J properties file. The path to the file may then be passed on SpyGlass startup via the JVM environment variable log4j.configuration by executing java -D/path/to/my/log4j.properties -jar /path/to/my/spyglass-core-1.0-my-platform-onejar.jar. All log statements are written to both the console in which you executed SpyGlass and the logging file ~/.spyglass/spyglass.log.