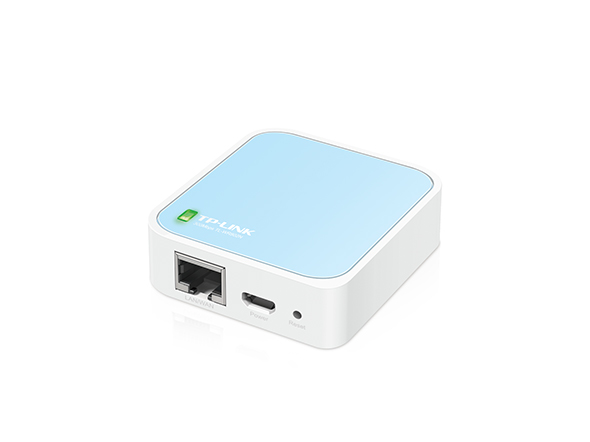
This is the "Travel Router" we will use: it's the TP-Link model TL-WR802N
- Power the router via USB.
- Press and hold the reset button on the side of the router for at least 5 seconds (until the router's green LED stops blinking) and release.
- Connect your laptop to the router's WiFi network.
- The SSID and WiFi password of the router are noted on the back of the router.
- Surf to http://tplinkwifi.net. If asked, log-in using admin/admin credentials.
- After logging in on the router, you will be asked to run Quick Setup. Press
Nextto start the process.- The next screen allows you to change the router's default login password. Just press
Next. - In the Quick Setup - Operation Mode screen, select
Hotspot Routerand pressNext. - In the Quick Setup - WAN Connection Type screen, just press
Next. - Next, the router will perform a scan to find WiFi access points. In the Access Point List screen, select the desired WiFi network by pressing the
Connectlink on the corresponding entry in the list. - In the Quick Setup - Wireless screen, enter the WiFi password and press
Next. - Finish the set-up by pressing
Finishand wait for about a minute for the router to reboot.
- The next screen allows you to change the router's default login password. Just press
Note that the green LED on the router will switch from blinking to continuously on when it successfully connects to the WiFi network.
- After the router has rebooted, reconnect to it by connecting back to its SSID and surf to http://tplinkwifi.net.
- If prompted, log-in using admin/admin credentials.
- Click on Network menu in the menu on the left. Select the LAN sub-menu item (see note below).
- In the IP Address: input field, change the IP address to
192.168.200.1and leave the Subnet Mask unchanged (255.255.255.0). Click theSavebutton. - The router will prompt you saying that it will have to reboot to make this change effective. Press
Okto proceed. - After a few seconds, your router should be ready again handing out IP addresses in the
192.168.200.xxxrange.
- This completes the configuration of the router!
The reconfiguration of the LAN IP address of the router from whatever it is set to by default to 192.168.200.1 may not work when connected to the router's WiFi network. In that case, disconnect from the router's WiFi network and connect the router to your laptop via a physical connection.
